HOW TO WHITEWASH BRICK AND STONE
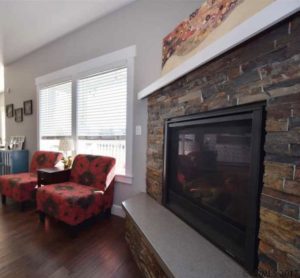
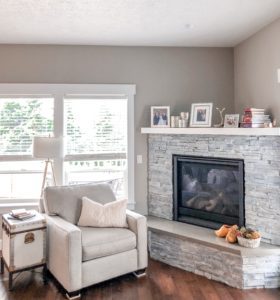
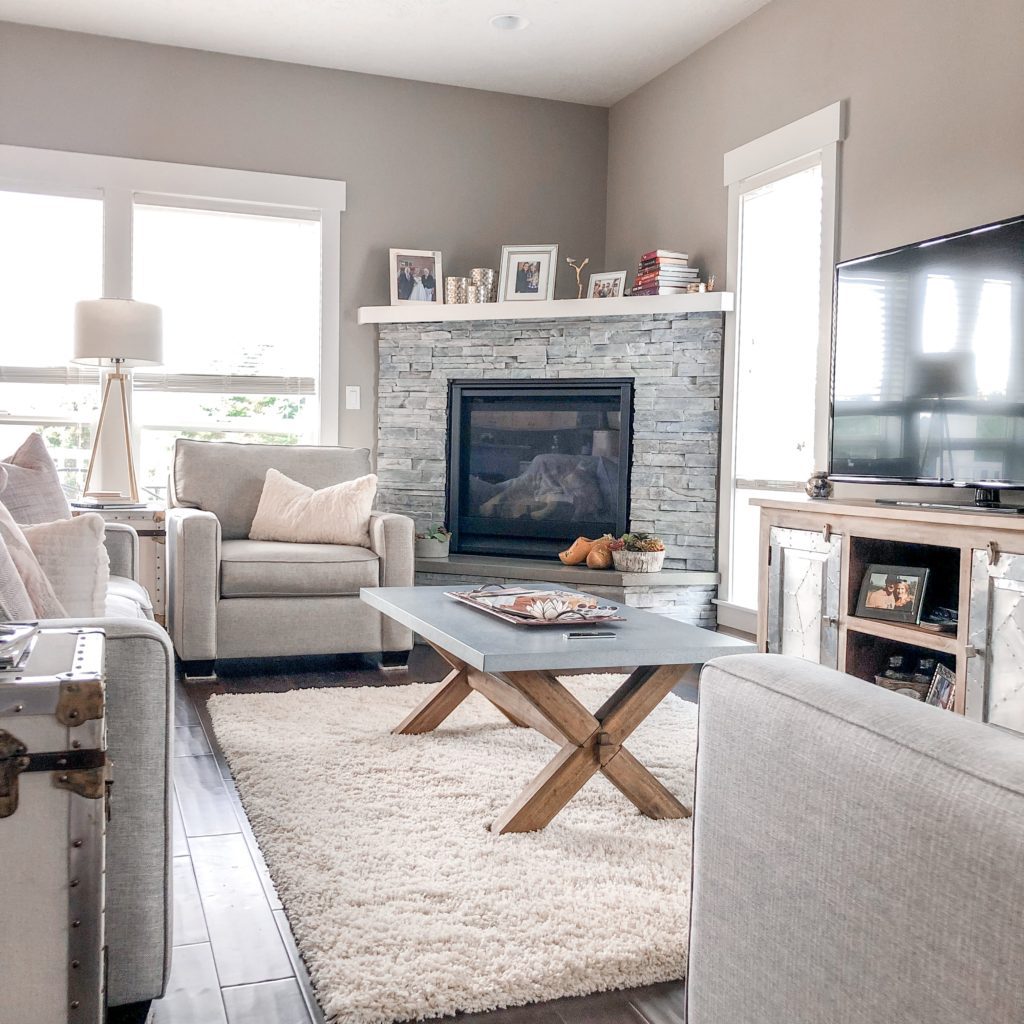
The first thing we did when we moved into our house was whitewash the stone fireplace. It was a total eyesore and seriously detracting from the whole room. At first, I was intimidated by the project (I am NOT crafty) and researched the heck out of finding someone to do it for us…ASAP.
But you know what you guys? What I quickly realized was this project was going to be SO easy for us to DIY, so we decided to tackle it ourselves!
In case you find yourselves in a similar situation, I’ve broken the whole process down for you so you can transform your space with a little whitewash paint and some elbow grease too!
SUPPLIES
Staining Pads
This is the key to epic results. They are super absorbent, don’t drip and have great transfer of the whitewash mix to the stone. Make sure to buy these Staining Pads.
Paint Brush
You’ll want an angled brush with medium stiff bristles. These are my favorite Paint Brushes.
Pre-Taped Masking Film
Tape this Pre-Taped Masking Film around the edges of your fireplace so you don’t ruin your floors or walls.
Rubber Gloves
You do not want to have paint on you for days! Make sure to wear these Rubber Gloves!
Chalk Style Paint
Use the Rustoleum’s Chalked Paint in Linen White for results similar to mine. Or, you can choose whatever color you want, but make sure it’s chalk paint.
Other: A disposable plastic Tupperware container, water, work towels
DIRECTIONS
- Wash your stone with warm soapy water. If your stone is super glossy, slick or dirty than you might need to use an alternate cleaning solution. You want to make sure the surface is very clean.
- Create your whitewash mixture. Use a 1:1 ration of paint and water. Mix it in your Tupperware container. A little goes a long way, so consider starting with about 1/2 cup of each.
- Test a spot before you proceed with the whole project. Dip your staining pad into the water/paint mixture and test a small area. Get an idea of how it looks, how much pressure you’ll need and if you’ll need to go over the area more than once.
- Apply the whitewash mixture one small area at a time and don’t be afraid to really push your staining pad and brush into the groves and crevices of the stone.
- Wipe any excess from your brushed areas with the staining pad to even it out.
- Repeat until finished!
At the end, we opted to add another coat to our fireplace and repeated steps 1-6 the following day. If you decide to also do a second coat, you’ll want to wait 24 hours for the first layer to dry before going over it again.
Good luck and let me know how your DIY whitewash project goes!
XO,
M
As an Amazon affiliate I earn from qualifying purchases as well as on other affiliate links found in this post. Please see my Disclosure for more information.
DIY diy home fireplace paint home project painting a fireplace whitewash whitewash brick whitewash diy whitewash fireplace whitewash stone
 When you delete something, but the universe say

 There is no place like home.
 #
#



 This extra large basket warms up the living ro

 Comment SHOP and I’ll send you the details f







This looks great! I really like your wall color too? What color is it?
Hi Amanda! The wall color is called “Power Lunch”