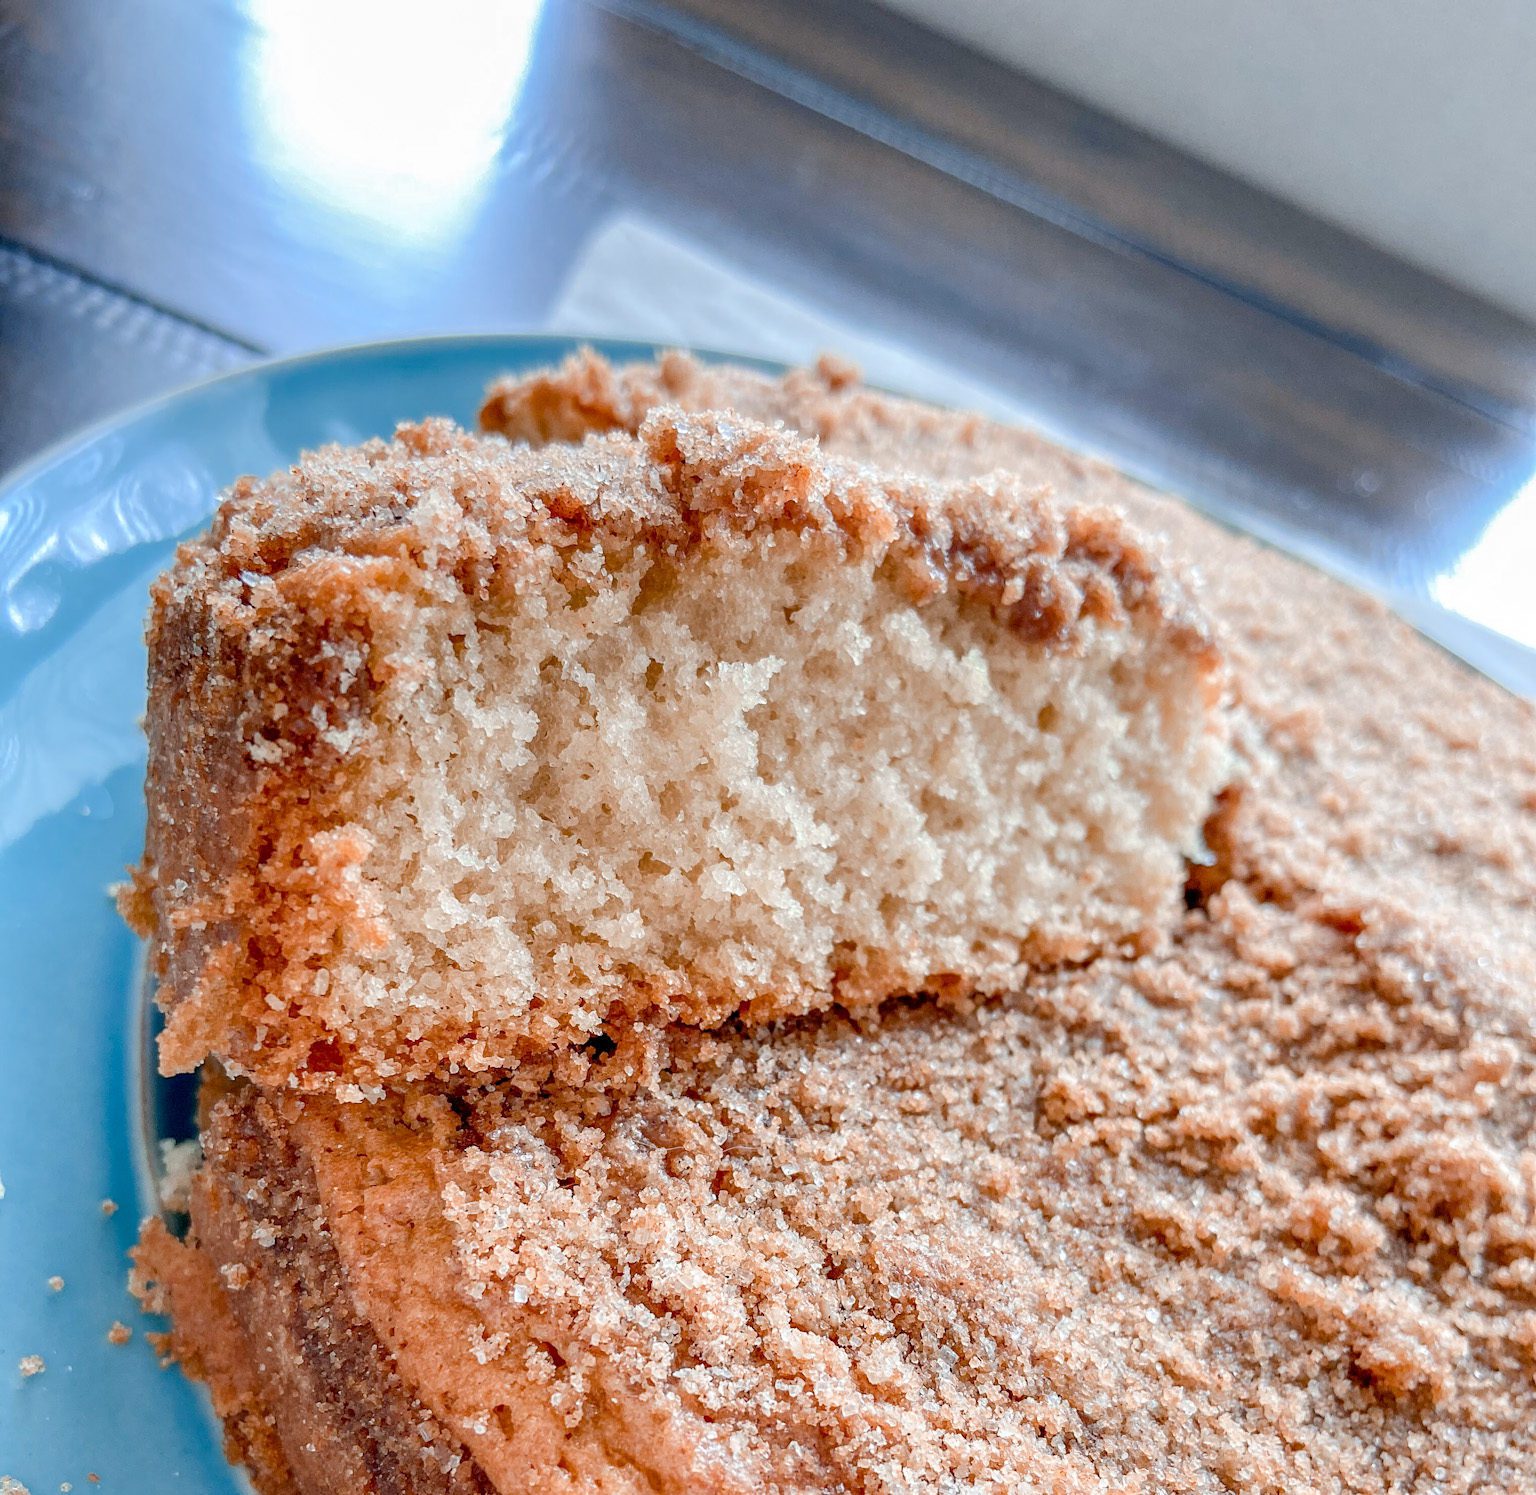
During a recent trip to Hawaii we decided to dine at The Big Island’s Canoehouse, a very popular restaurant (with good reason!) located within the Mauna Lani Resort. Our experience was delicious and the views unparalleled… but my ultimate takeaway from dinner was the desire to recreate the one part of the meal that was the absolute standout – Japanese Milk Bread. Also commonly referred to as Shokupan, a unbelievably buttery, soft and fluffy starter bread with a almost with a crisp, salted exterior. Melt in your mouth is really the best way to describe it and I was determined to recreate it. The weekend we arrived home I began my process and below is the best Shokupan Japanese Milk Bread Recipe! The key is to adequately butter your pan and add dashes of fresh sea salt. Enjoy!

Delicious Shokupan Japanese Milk Bread Recipe
makes two loaves
INGREDIENTS
STARTER
– ⅓ cup/45 grams organic bread flour
– ½ cup/120 ml whole milk
– 1/2/120 ml water
DOUGH
– 5 cups/650 grams organic bread flour
– 1/2 cup/120 grams organic sugar
– 4 teaspoons/14 grams active dry yeast (1 packet)
– 2 teaspoon/8 grams salt
– 2 eggs
– 1 cup/240 milliliters warm whole milk, plus extra for brushing on the unbaked loaf
– 8 tablespoons/120 grams unsalted butter, cut into pieces and softened at room temperature, plus extra for buttering bowls and pan
– 2 tsp of sea salt (this is my favorite!)
DIRECTIONS
STARTER
First, you need to make the starter: In a small heavy pot (this nontoxic pan is a favorite!), whisk flour, milk and 1/2 cup water together until smooth. Bring to a simmer over medium-low heat and cook, stirring often, until thickened but still pourable. This will take you about 10 minutes and it will thicken more as it cools down. When it’s ready, the spoon will leave tracks on the bottom of the pot. Place into a measuring cup and lightly cover the surface with plastic wrap and set aside to cool to room temperature.
DOUGH
In the bowl of a stand mixer fitted with a dough hook, combine the flour, sugar, yeast and salt and mix for a few seconds until combined. Next add in your egg, milk and starter and turn the mixer onto low and let knead for about 5 minutes.
Now, add in your softened butter and knead for another 10-12 minutes, and let mix until the dough is smooth and springy and just lightly tacky.
Prep a large mixing bowl (this nesting set is the BEST!) by buttering the inside and then use your hands to lift the dough out of the stand mixer bowl, shape into a ball and place into your prepared bowl. Cover with a kitchen towel and let rise in a warm spot until doubled in size. This will take about 40-60 minutes.
Once the dough has doubled in size, punch the dough down and use your hands to scoop it out onto a surface. Using a large knife, cut dough into four halves and lightly form each portion into a ball, cover again and let rise 15 minutes. During this time heat your oven to 350 degrees and generously butter two 9-by-5-inch loaf pans (keep it non-toxic by using these baking pans!). Dust each pan with about 1 tsp sea salt.
Next, using a floured rolling pin, roll out one dough ball into a thick oval. Your dough should be moist and no longer sticky and you will not need to flour the surface. Roll out until the oval is about 12 inches long and 6 inches across. Fold the top 3 inches of the oval down, then fold the bottom 3 inches of the oval up, making a rough square. Starting from the right edge of the square, roll up the dough into a fat log, pick it up and smooth the top with your hands. Place the log in the buttered pan, seam side down and crosswise, nestling it near one end of the pan. Repeat with the other dough ball, placing it near the other end of the pan.
Lastly, cover and let rest 30 to 40 minutes more, until the risen dough is peeking over the edge of the pan and the dough logs are meeting in the center of the pan.
Brush the tops with milk, or milk mixed with about a tbs of butter and bake on the bottom shelf of your oven until golden brown, 35 to 40 minutes.
Once removed from the oven, let it cool in the pan for 10 minutes, before removing and placing on a wire cooling rack for another hour. Personally, I like this bread warm and served right away, but it’s your preference!
XO,
M
As an Amazon Associate I earn from qualifying purchases as well as other affiliate links found in this post. Please see my Disclosure for more information. Shokupan Japanese Milk Bread RecipeDelicious Shokupan Japanese Milk Bread Recipe
big island Mauna lanai canoehouse canoehouse manna lanai canoehouse Mauna lanai resort canoehouse shokupan recipe Delicious Shokupan Japanese Milk Bread Recipe Japanese milk bread recipe shokupan the best Japanese milk bread
 There is no place like home.
 #
#


 This extra large basket warms up the living ro
 Comment SHOP and I’ll send you the details f

 Comment SHOP below to receive a


Leave a Comment