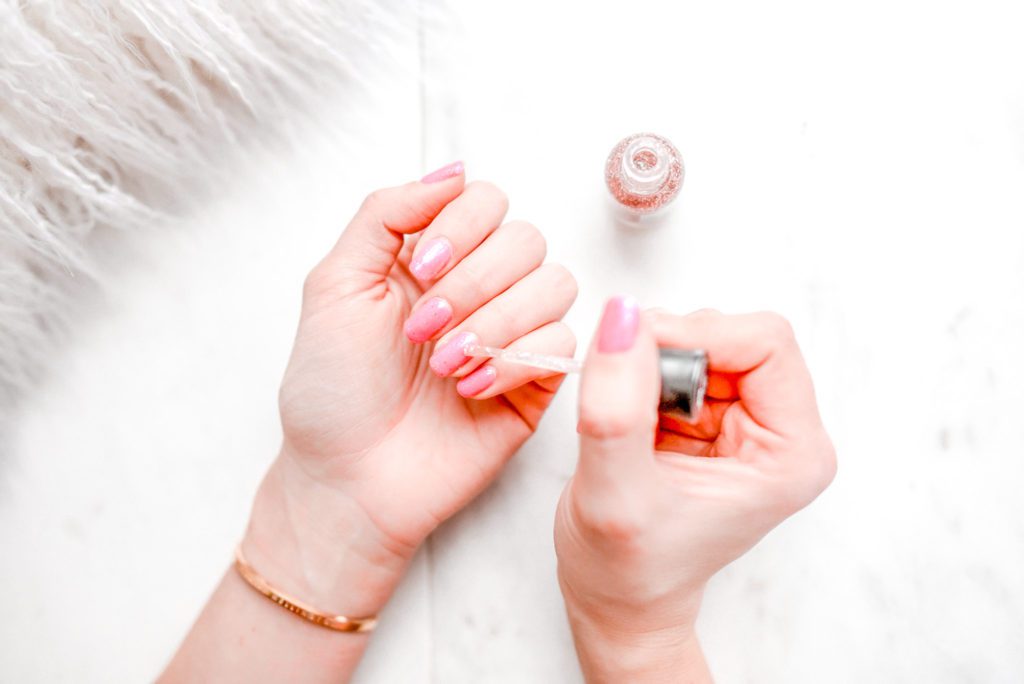
Doing your own manicure at home is super easy and even if you’re already a devoted DIY Manicurist, I even have a few tips and tricks for you! It’s definitely not impossible to achieve the Insta-worthy manicure by yourself, it just takes a little practice and a good method. So check out this post on the DIY Manicure at home and start feeling great about yourself!
Step 1: Clean your nails with polish remover.
To get a great manicure at home, make sure to spend as much time prepping your nails as you do polishing them! I love this polish remover, it works quickly and easily and is the same stuff as you’d find in the salon!
Step 2: Clip, file, and buff.
Clip nails first, and then file gently, moving in one direction to shape your nails the way you like them. Next, buff the tops and sides of your nails lightly with a nail buffer. This is my favorite nail buffer because it’s a 4-in-1 and you can use it throughout your whole manicure!
Step 3: Push back your cuticles.
Prep cuticles with cuticle remover and definitely make sure it’s not an oil or a balm. This cuticle removert will help to help dissolve dead skin and soften the area. Next, push back gently with a cuticle stick and move onto the next step.
Step 4: Exfoliate your hands.
This is absolutely my favorite part of the process – exfoliation! I personally love this OPI Hand Exfoliator or even this all natural peppermint and coffee exfoliator. I’ve also tried this exfoliator by Dr. Teal’s and was pleasantly surprised at how nicely it worked and smelled! Exfoliate hands, wrists, and forearms with a scrub that eliminates dead skin cells and replenishes moisture, you’ll fell instantly renewed and ready to move onto th enext step!
Step 5: Moisturize your hands and cuticles.
Now, moisturize! This Cherry Blossom Hand Cream is one of my FAVORITES! And will put you right in the mood for Spring!
Step 6: Apply a base coat.
Apply a base coat to hydrate and protect nails and prevent chipping and wait at least two minutes! These are my two favorite base coats (base coat 1 and base coat 2), because they are all-in-one, meaning you can use them at the end as your top coat as well!
 Step 7: Apply your first coat of color.
Apply a coat of your color of choice (some faves, more faves) and make sure brush all the way down to the cuticle and into the corners of your nail. Keep the layer nice and thin! I also LOOOVE these gel like polishes that remove like regular nail polish.
Step 8: Apply your second coat of color.
Wait a full two minutes before you apply the second coat of nail polish!
Step 9: Finish with a top coat.
A topcoat will protect your manicure from chipping and adds shine to nails, so don’t skip it! Here are my two favorite top coats! (top coat 1 and top coat 2)
Step 10: Let dry (or, if you used a shellac mani set, you’re done!)
Easy peasy right? Honestly, I cannot even tell you how much money I’ve saved! If you’re more of a fan of the shellac nail, then consider purchasing this Shellac Mani Set, I was spending anywhere between $45 and $85 on my finger nails alone anytime I went to get my nails done. This kit is $79.99 and easily pays for itself the very first time you use it! If you do not want to spend that much, this shellac kit and this shellac kit are good alternatives! Just make sure you also purchase one of these little nail kits to trim and clean your nails before you get started like in the steps above! Check out below for my whole at-home pampering!
Shellac Mani Set // Foot Care Kit // Facial Kit // Jade Roller Set // Billie // Spa Headband // Nail Set // Facial Peel
XO,
M
As an Amazon Associate and an affiliate of other programs, I earn from qualifying purchases as well as other affiliate links found in this post. Please see my Disclosure for more information. DIY Manicure At Home DIY Manicure At Home
at home manicure at-home pampering diy gel manicure diy manicure DIY Manicure At Home diy shellac manicure gel manicure home pampering manicure at home shellac manicure at home
 Looking for cookware that’s safe, stylish, a
 When you delete something, but the universe say

 There is no place like home.
 #
#


 This extra large basket warms up the living ro
 Comment SHOP and I’ll send you the details f


Leave a Comment